Showing posts with label craft. Show all posts

Friday, June 11, 2010

Headbands Anyone?

I made these simple little flowers awhile ago with girls headbands in mind and I finally attached them to the headbands last night.

These ones with the buttons are my favorite...

While I was at it I made this flower last night...


I ended up really liking it so I made a few more. I think they will make great additions to the Accessories section in my Etsy shop

Sunday, June 6, 2010

A Little Update

Ok, I admit it, I have been a terrible blogger lately. I haven't had much to share. My husband is coming home in THIRTEEN DAYS so I have been doing projects around the house that I have been putting off. However, I do have some teachers gifts to share. I was Room Mom this year and when it came to the end of the year class gift I had NO CLUE what to do for his teachers. I wanted to do something cute and personal from the kids but rounding up 25 three and four year olds to do something for each teacher was too daunting a task for me. SO I settled on making them tote bags and Target gift cards :)
They were so excited about them, which made me very happy! They said I need to start my own business...I told them I was working on it :)


And they LOVED their cards...maybe it was just the gift card :) No, but seriously one of his teachers said she has kept every card I've made for her which is very nice.

Here is the card I made for the school's office staff

And these are Jackson's gifts to his teachers...I know it's a bad picture. He painted their pots lime because he was in the lime group and then we planted daisys. One of his teachers favorite color is yellow and the others is purple...can you tell we ran with that?


Ok, that's it for now. Hopefully I will have more to blog about soon. I have everything I need to get a good start on my Etsy shop...now I just need to find the time :)

Saturday, April 24, 2010

A Little Something for Myself

A few weeks ago when I made the flower pillow I made an extra flower. I ended up using it in my hair and I've made a few more since then.


I made these today and they are my favorite! I made the back so that they could be more versatile and used with a hair clip or a pin. I plan on making more soon!

Wednesday, April 21, 2010

Ninja Turtle Birthday

Ok, so I did some few crafts for my sons birthday. Just a few and nothing too complicated.
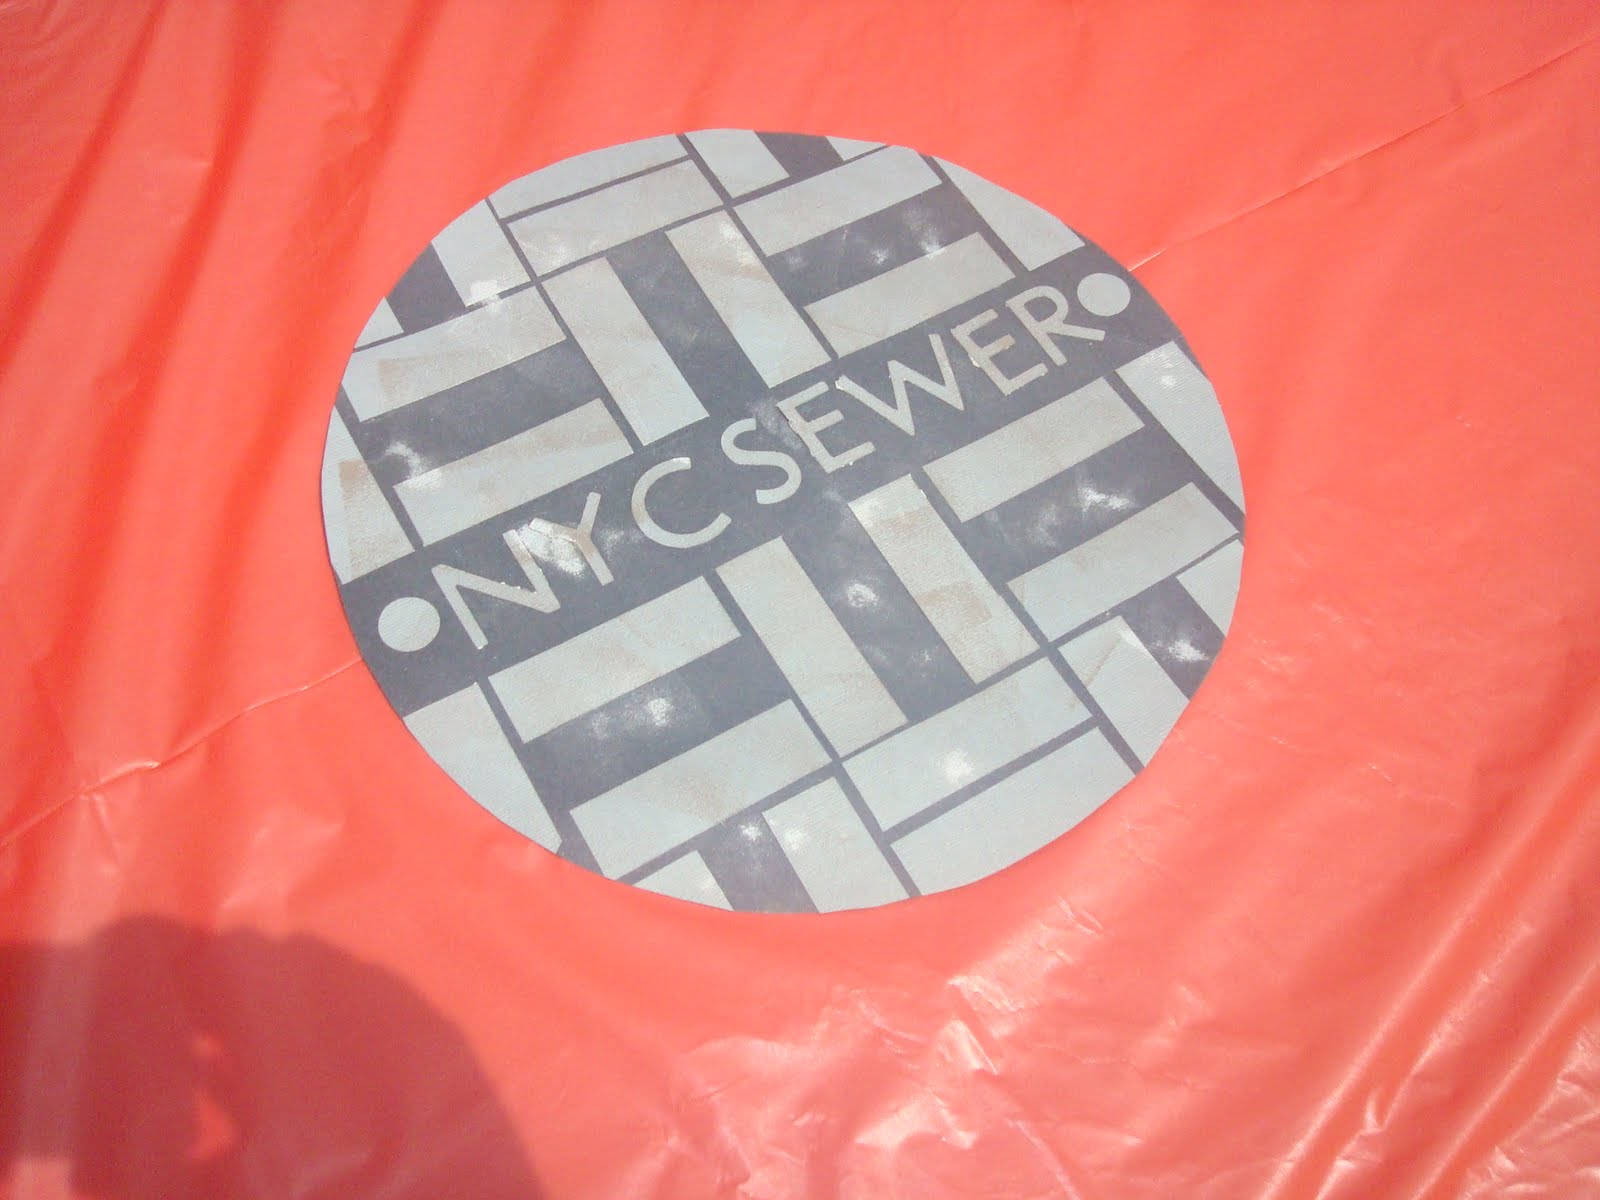
Man Hole Covers:


This is just cardstock. I cut out the rectangles and used my cricut to cut out the letters. Since it's the sewer I rubbed some ink pads on them to make them look dirty.
Ooze:
Not sure how you can have a Ninja Turtle party without ooze :) I was surprised by how many ooze/slim recipes are out there. I used this recipe because it looked like the ooze from the movie:


It was really easy to make! I have left over glue so I think making more would be a good rainy day craft for sure!

Pinata:
I never thought I would attempt to make a pinata but there is just something that happens to a mom when their child asks them ever so sweetly to do something. :) It wasn't hard to do it just took up way to much time. The process was not pretty either...I ended up using cardboard taped together to make the pizza shape, then paper mache, and then the tissue paper for the decoration. It cost me next to nothing too because I already had most of the items. However, I would rather pay the full amount for one at the party store next time!

I was worried it wasn't sturdy enough and it turned out that the pinata was pretty indestructible!
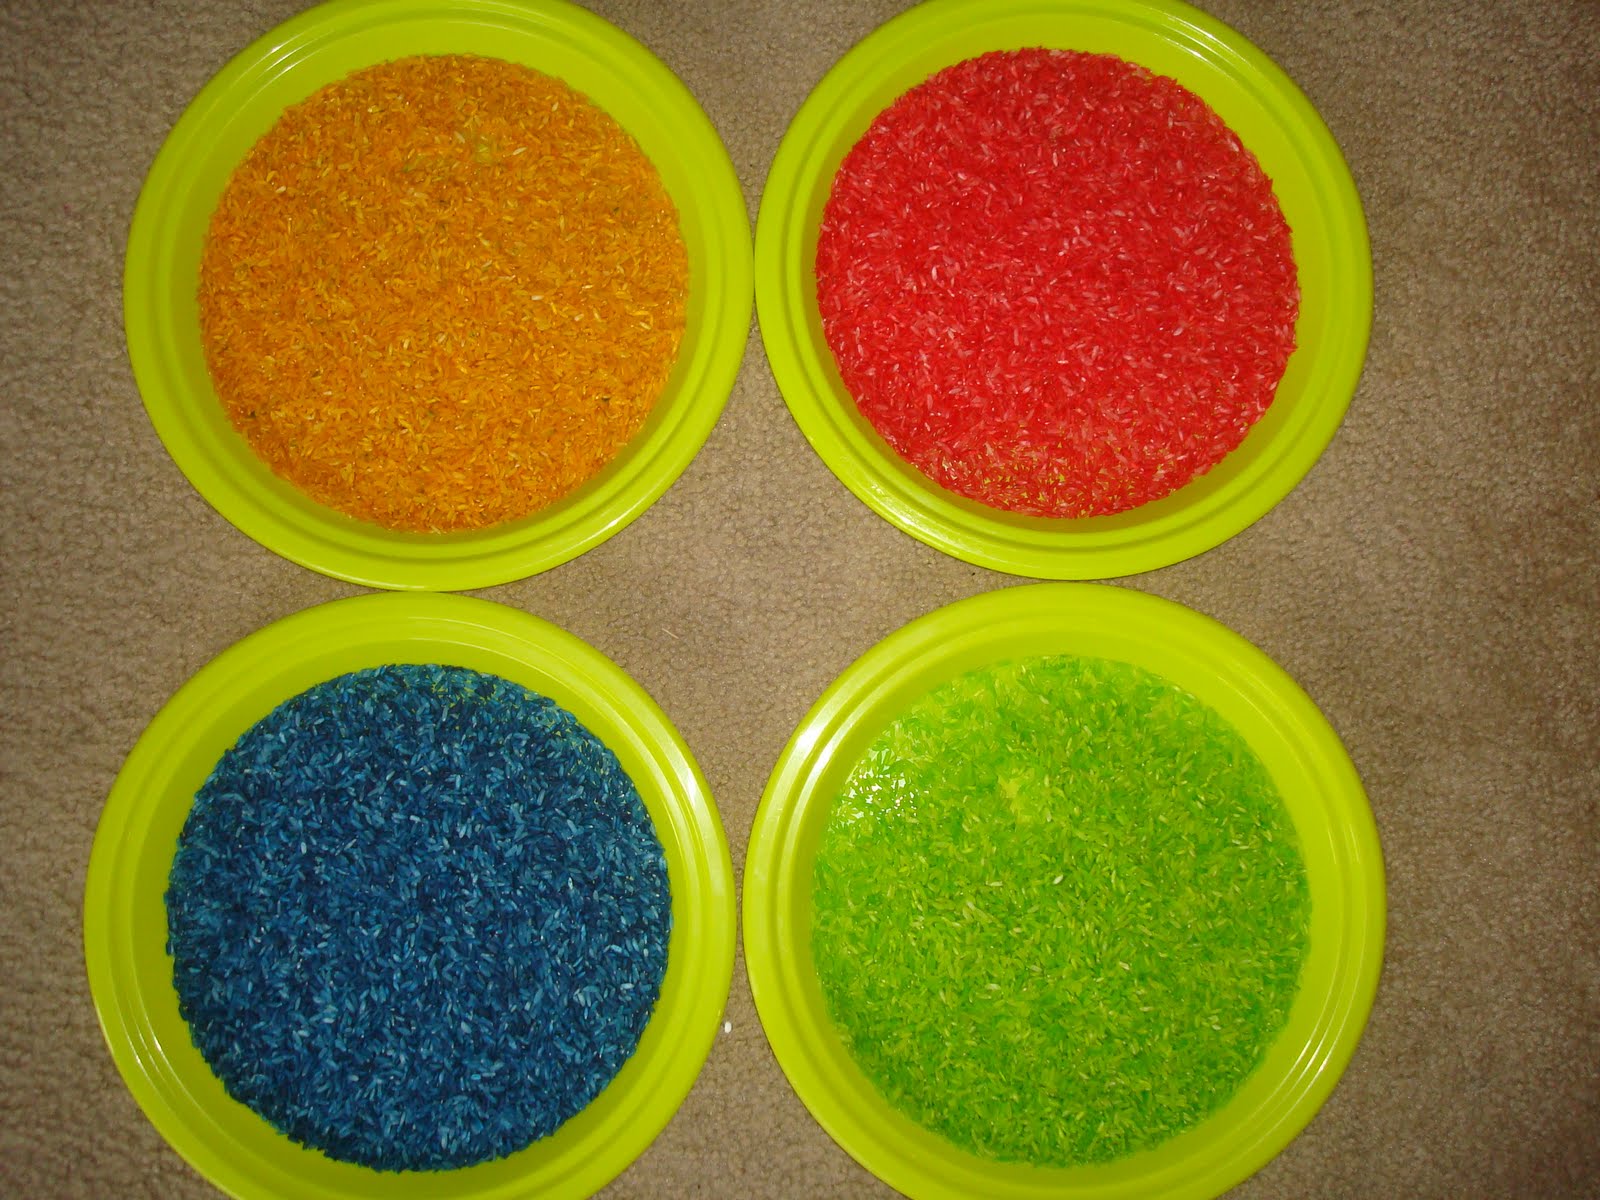
Rice Crispy Treats:
Instead of cake Jack wanted rice crispy treats. Well, to be exact he wanted them green, on a stick, and decorated like the ninja turtles faces. He got 2 out of the 3 requests. You can go that extra mile if you want but there was no way I was even going to attempt that.


That's it. Like I said, just a few simple things.
When I searched for Ninja Turtle party ideas I was less then impressed by what I found so maybe this can help someone out!
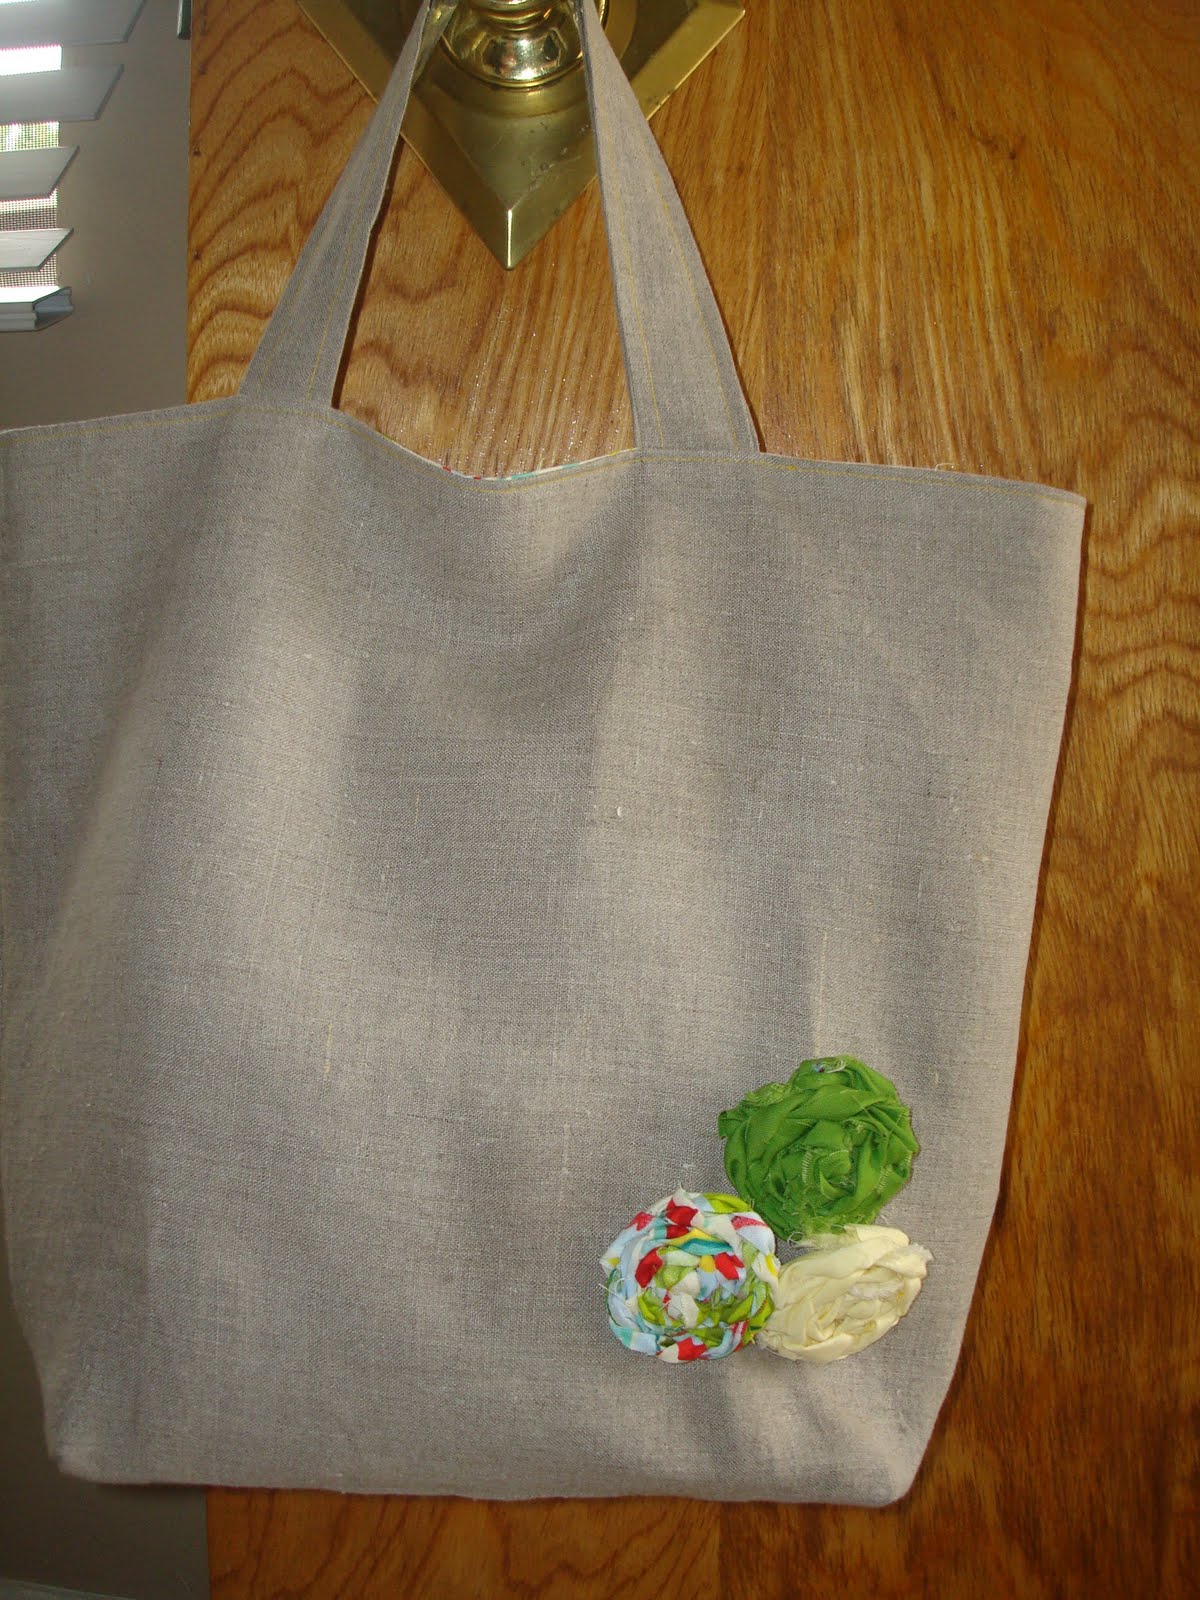
Tuesday, April 13, 2010

Birthday Boy

It's my little man's birthday week and I have been consumed with birthday stuff. More specifically his pinata...more on that in another post.
Here is a pic of his birthday shirt...I've never made him a shirt just for his birthday before but with his daddy being gone on his birthday I wanted to do everything I could to make it extra special.

I just made a stencil and used fabric paint..nothing fancy. I considered doing an applique and all that but then I came back to reality...why do all that work for one day? He is happy with it and is excited to wear it and that's all that matters right?

Notebooks

Last week, while I was on my notebook kick, I made these...
For Jackson's teacher's:
I like to give them a little something for every holiday to show our appreciation. We were late on our Easter gifts so Jackson gave them their notebooks today and they LOVED them.


For myself:
You can never have enough notebooks :)


Like every other parent I try to write down all the hilarious/clever things my son says. I'm going to transfer everything into here because I think it happens to be pretty darn cute. (Oh and yes I admit it, I got the "journal of unforgettable quotes" quote from Paper Source's My Quotable Kid notebook.)


For a friend:


I got a little addicted to these little notebooks...can you tell?

Saturday, April 10, 2010

Flower Pillow

I made a totally adorable pillow today...


However, my crappy camera can't seem to take decent pictures these days and my house has terrible lighting so this is all I have for now.
As you can see it has a white front and teal back. There are six mustard colored flowers with teal beads in the center.
I am going to make a matching pillow and use them on my bed with the ruffle pillows I made.
I'll try again with the pictures tomorrow. Maybe I can get some better ones outside in the sun. Wish me luck.

Friday, April 9, 2010

Magnets

I seem to never have enough magnets. Not sure why that is...but I changed my dire magnet situation yesterday. :)
So if you are craving a magnet surplus here is the how to info...
(I must add this is not my original idea, I have seen this done somewhere but I can't remember where)
You will need:
-flat glass marbles
-magnets
-paper
-pencil/pen
-scissors
-glue that dries clear (I used Tacky Glue)
I took pictures with my phone but once I got them on the computer most of them didn't turn out well. But you really shouldn't need pictures...it's pretty self explanatory,
Step 1- Lay out the marbles where you want them on the paper.
Step 2- Trace around the marble. Remember to not mix them up since all the marbles are different shapes. I did this to make it easier...

Step 3- Cut out the circles
Step 4- Glue the paper to the marble. Press hard to spread the glue evenly.
Step 5- Glue the magnet to the back of the marble.
Now your done. Can't get easier then that right?

Friday, April 2, 2010

I Spy

Like any other parent I spend most of my days thinking up things to keep my son entertained. He loves I Spy and Where's Waldo books. I have passed those I Spy games at Target and have been tempted to buy them more then once. I remembered seeing this I Spy type game in a bottle done in various parenting magazines and websites so I thought I would give it a try today...
This DIY game was an A+ for me because he was also able to help me every step of the way which he's really into at this age.
We used rice (approx 4 cups)and divided it into baggies. Then I let him choose 4 colors of food coloring and we dyed the rice. We let it set for about 30 minutes and then put it on plates to make sure it was dry....

I put all the rice in a large bowl and let him mix...


We searched the house for small items to put inside the bottle...

We put all of our items in the bottle and then used a funnel to fill the bottle up with our rice and here is our finished product...

So far it has been a hit!

In an Attempt to Avoid Cleaning

Jackson loves notebooks. He prefers to draw in a notebook vs. just a normal piece of paper. I think he gets that from me...I'm totally that person that has like 20 notebooks stashed around the house filled with various lists and other ramblings.
Anyways, in an attempt to avoid cleaning I just made him this...


I've always wanted to try and make my own notebook but I thought it would be too complicated. I found instructions here
It was really simple and did not take much time at all. And of course I love that you can just use things you already have around the house. I used normal printer paper folded in half and two pieces of cardstock glued together for the cover.
I think it turned out adorable! I like how versatile this can be and would make a great homemade gift!

Monday, March 29, 2010

I'm in love...

with these new pillows...

They are step 2 in my bedroom makeover. Aren't they adorable? Girly ruffles in a color my husband approves of. Sounds like the perfect compromise to me. Plus, the total cost was around $10.
Up next are some larger pillows to go behind these!