Showing posts with label diy. Show all posts

Wednesday, October 20, 2010

Presents for a Little Lady

My oldest niece turned 10 yesterday. I knew she wanted hair clips so that is exactly what she got. I also made her a hair clip holder out of a 10 inch embroidery hoop..super easy and I think it turned out really cute.

I painted the hoop pink and used some scrap fabric. I used thumb tacks in the back to hold the ribbon in place.

I wish I had a picture of her wearing the clips...she is too cute.

I love giving homemade gifts. However, Jackson does not like it at all. He thinks that since I make the gift it is solely from me, not our family. I knew Hope wanted magnets for her locker at school so I knew that would be a perfect little gift from him. He really did most of the work, he even picked out the colors, I just helped to make sure things came out as neat as they could.

(The glue still wasn't completely dry in this picture so they did come out a lot clearer then this)
He was really proud of them and really excited to give them to her. He sure loves his cousins!

Friday, July 30, 2010

Gotta Love Some Organization

My son LOVES to draw. When he grows up he says he wants to be an Illustrator and an Animator. Impressive for a 4 year old right? We have art supplies all over the place and I wanted to give him his own art station next to his little table.
This is what I came up with...
I started with a larger scrap piece that I had...

Then I figured out the sizes I needed and cut. Then I made stencils and used fabric paint to label the pockets...

Then I did all my sewing. If you can see in the pictures to finish the edges off I just used a zig zag stitch...I was going for a little funky look.


So hanging this bad boy was a little bit of trial and error...mostly error. I wanted to use what I had, which was sticky velcro. It worked great for five minutes then it unstuck from the fabric...duh. So I just thought, oh ok I'll sew it on then. BIG mistake. Sticky things and sewing needles are not compatible. I should have known better. Actually, I did know better I just did it anyway. I don't recommend this method but if you do I found that if you run a piece of paper through the machine every now and then it helps to de-stickify the needle.
Anyways, now the art supplies have a handy place to go and my son was really excited about the finished piece which means mission accomplished.
After looking at these pictures I can tell it needs a good ironing...it doesn't look that wrinkled in person...I promise :)

Friday, May 14, 2010

I've Fallen for Succulents

I am not entirely sure if this falls under things craft related but I made it so that's close enough for me. I made this for one of my best friends...

I saw these at a flower show I went to with by parents awhile ago and I fell in love. They were selling them for mega bucks though. So of course, I said to myself I can totally make that!
I love it and I know for sure I will be making a few for myself next! :)

Tuesday, April 13, 2010

Notebooks

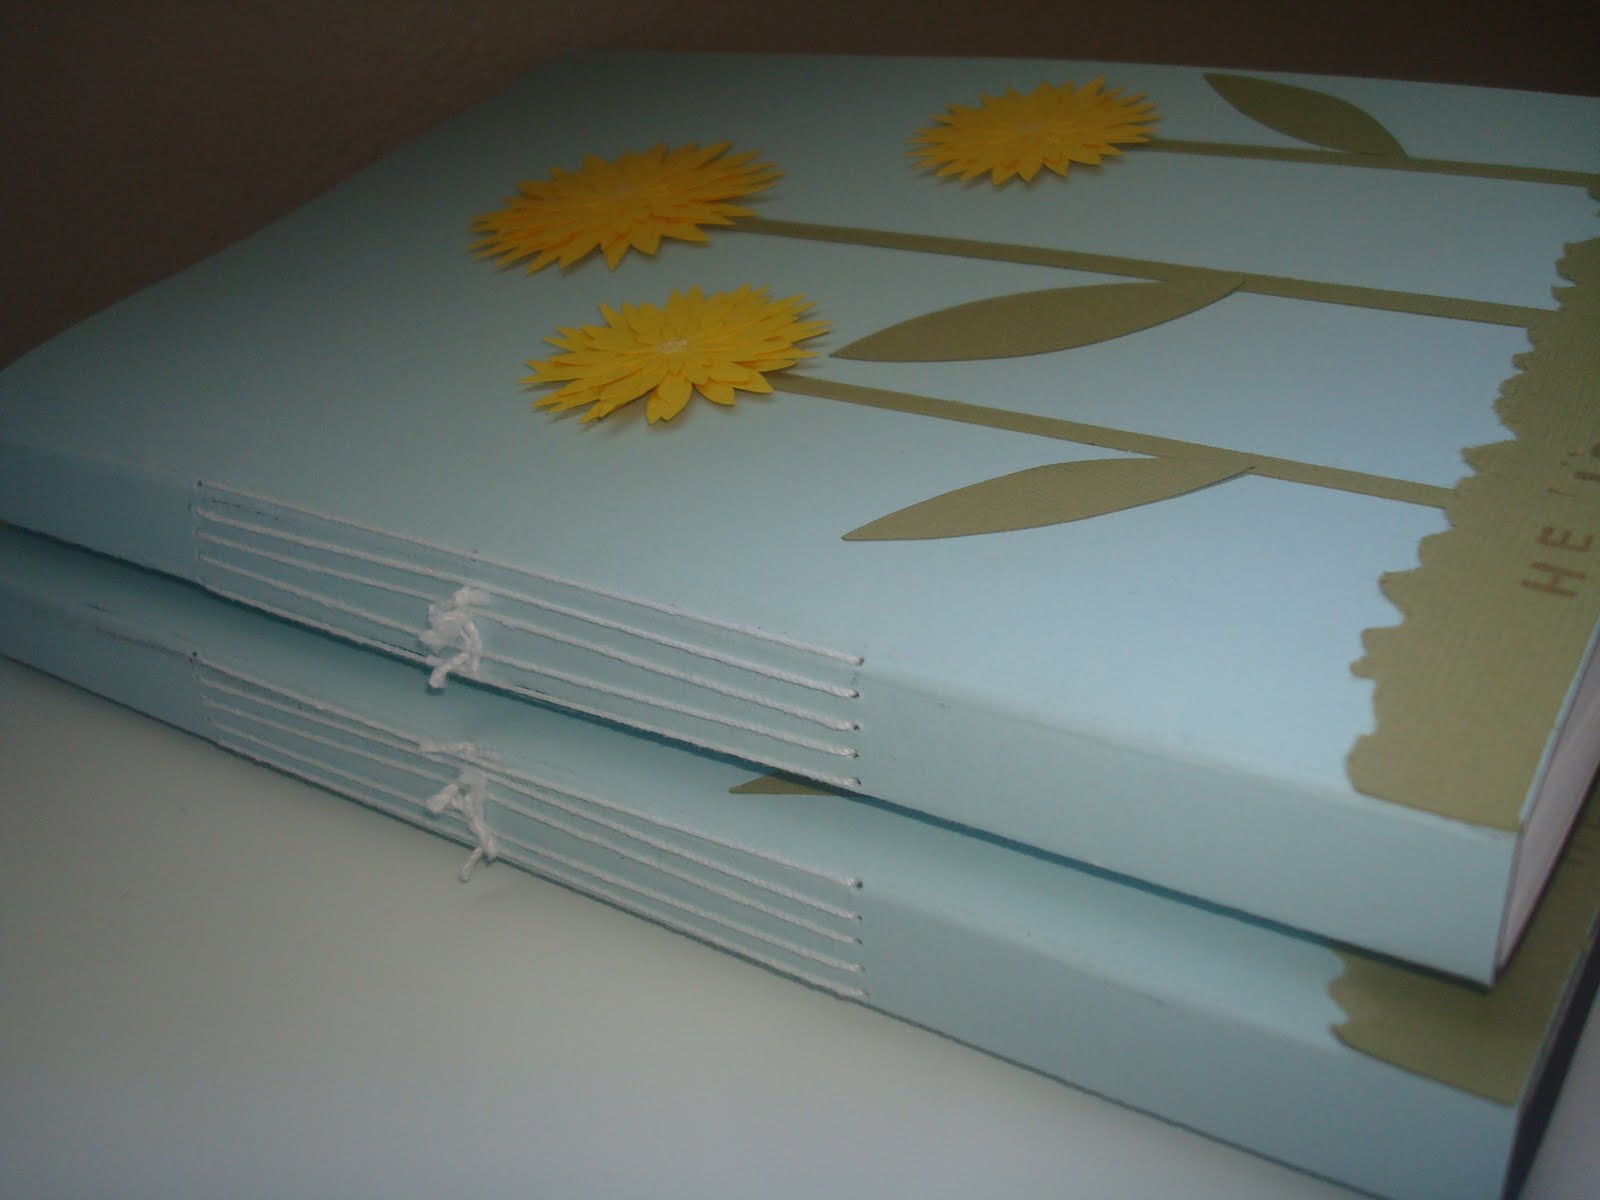
Last week, while I was on my notebook kick, I made these...
For Jackson's teacher's:
I like to give them a little something for every holiday to show our appreciation. We were late on our Easter gifts so Jackson gave them their notebooks today and they LOVED them.


For myself:
You can never have enough notebooks :)


Like every other parent I try to write down all the hilarious/clever things my son says. I'm going to transfer everything into here because I think it happens to be pretty darn cute. (Oh and yes I admit it, I got the "journal of unforgettable quotes" quote from Paper Source's My Quotable Kid notebook.)


For a friend:


I got a little addicted to these little notebooks...can you tell?

Friday, April 9, 2010

Magnets

I seem to never have enough magnets. Not sure why that is...but I changed my dire magnet situation yesterday. :)
So if you are craving a magnet surplus here is the how to info...
(I must add this is not my original idea, I have seen this done somewhere but I can't remember where)
You will need:
-flat glass marbles
-magnets
-paper
-pencil/pen
-scissors
-glue that dries clear (I used Tacky Glue)
I took pictures with my phone but once I got them on the computer most of them didn't turn out well. But you really shouldn't need pictures...it's pretty self explanatory,
Step 1- Lay out the marbles where you want them on the paper.
Step 2- Trace around the marble. Remember to not mix them up since all the marbles are different shapes. I did this to make it easier...

Step 3- Cut out the circles
Step 4- Glue the paper to the marble. Press hard to spread the glue evenly.
Step 5- Glue the magnet to the back of the marble.
Now your done. Can't get easier then that right?

Friday, April 2, 2010

I Spy

Like any other parent I spend most of my days thinking up things to keep my son entertained. He loves I Spy and Where's Waldo books. I have passed those I Spy games at Target and have been tempted to buy them more then once. I remembered seeing this I Spy type game in a bottle done in various parenting magazines and websites so I thought I would give it a try today...
This DIY game was an A+ for me because he was also able to help me every step of the way which he's really into at this age.
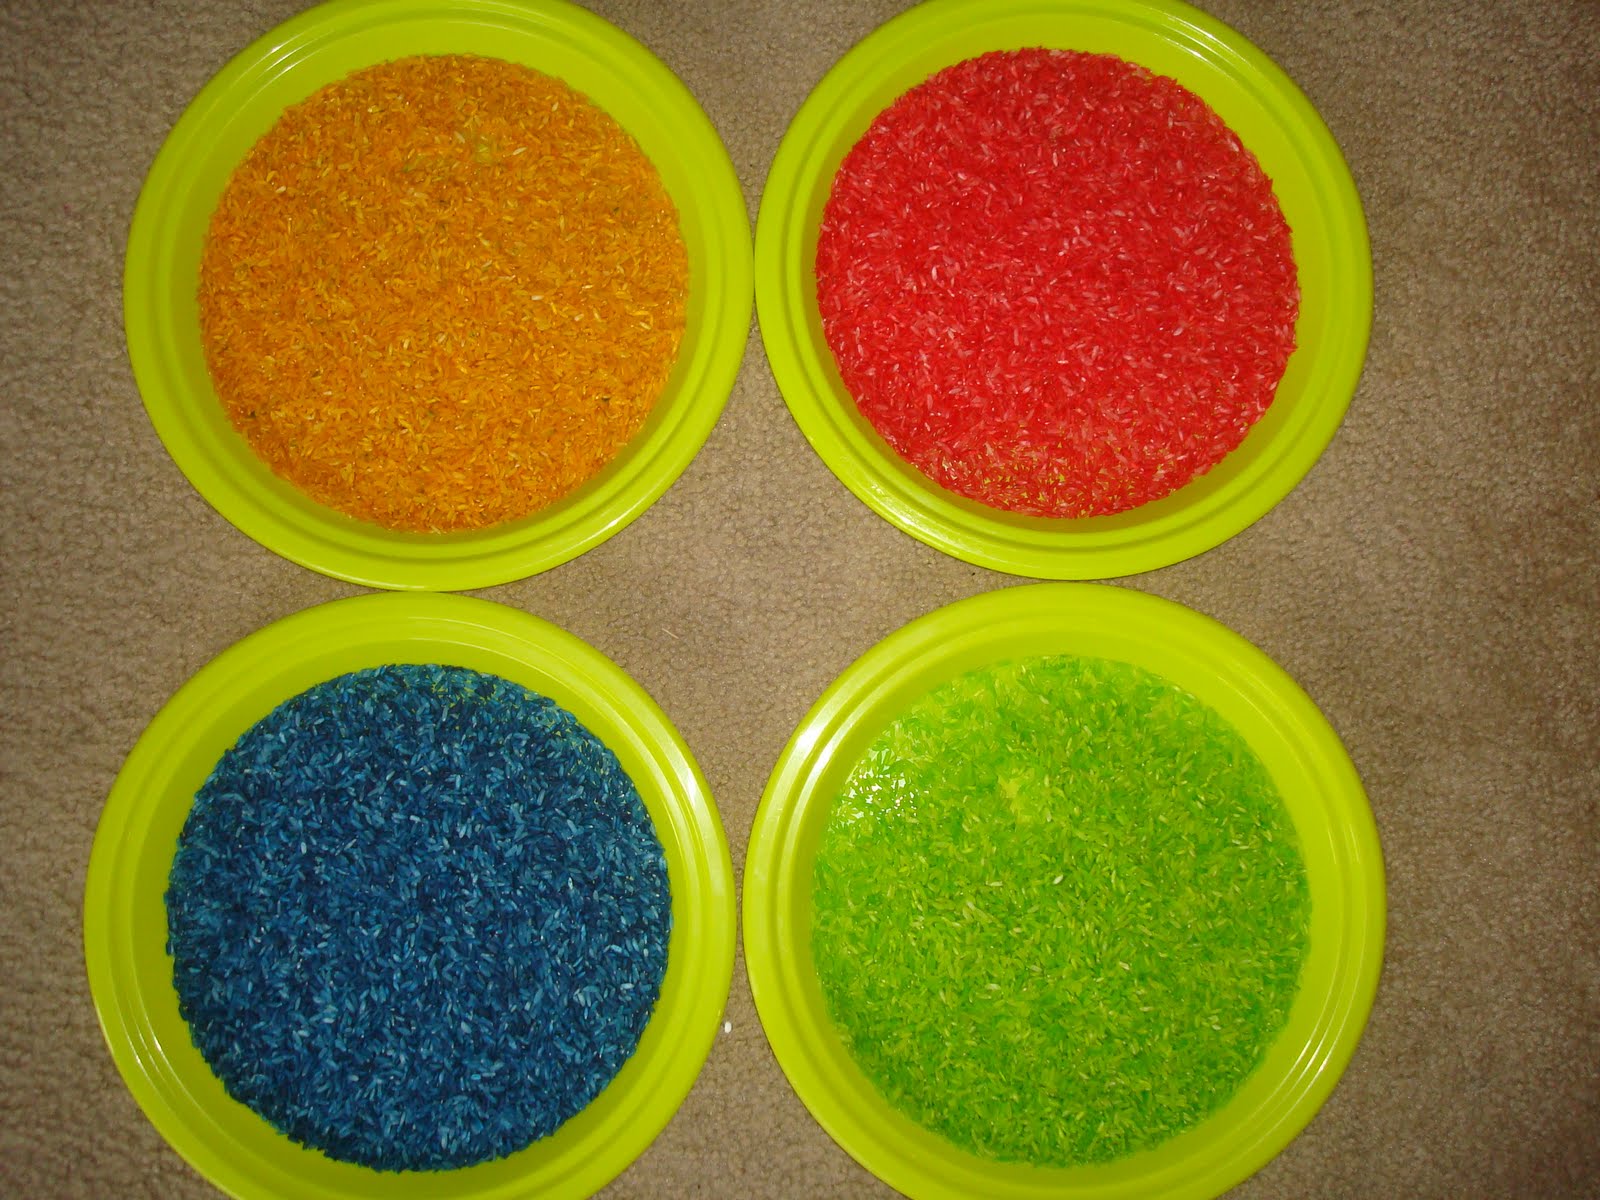
We used rice (approx 4 cups)and divided it into baggies. Then I let him choose 4 colors of food coloring and we dyed the rice. We let it set for about 30 minutes and then put it on plates to make sure it was dry....

I put all the rice in a large bowl and let him mix...


We searched the house for small items to put inside the bottle...

We put all of our items in the bottle and then used a funnel to fill the bottle up with our rice and here is our finished product...

So far it has been a hit!

In an Attempt to Avoid Cleaning

Jackson loves notebooks. He prefers to draw in a notebook vs. just a normal piece of paper. I think he gets that from me...I'm totally that person that has like 20 notebooks stashed around the house filled with various lists and other ramblings.
Anyways, in an attempt to avoid cleaning I just made him this...


I've always wanted to try and make my own notebook but I thought it would be too complicated. I found instructions here
It was really simple and did not take much time at all. And of course I love that you can just use things you already have around the house. I used normal printer paper folded in half and two pieces of cardstock glued together for the cover.
I think it turned out adorable! I like how versatile this can be and would make a great homemade gift!